Description
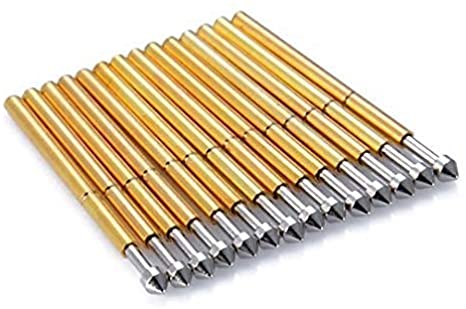
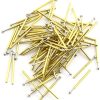
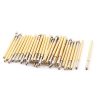
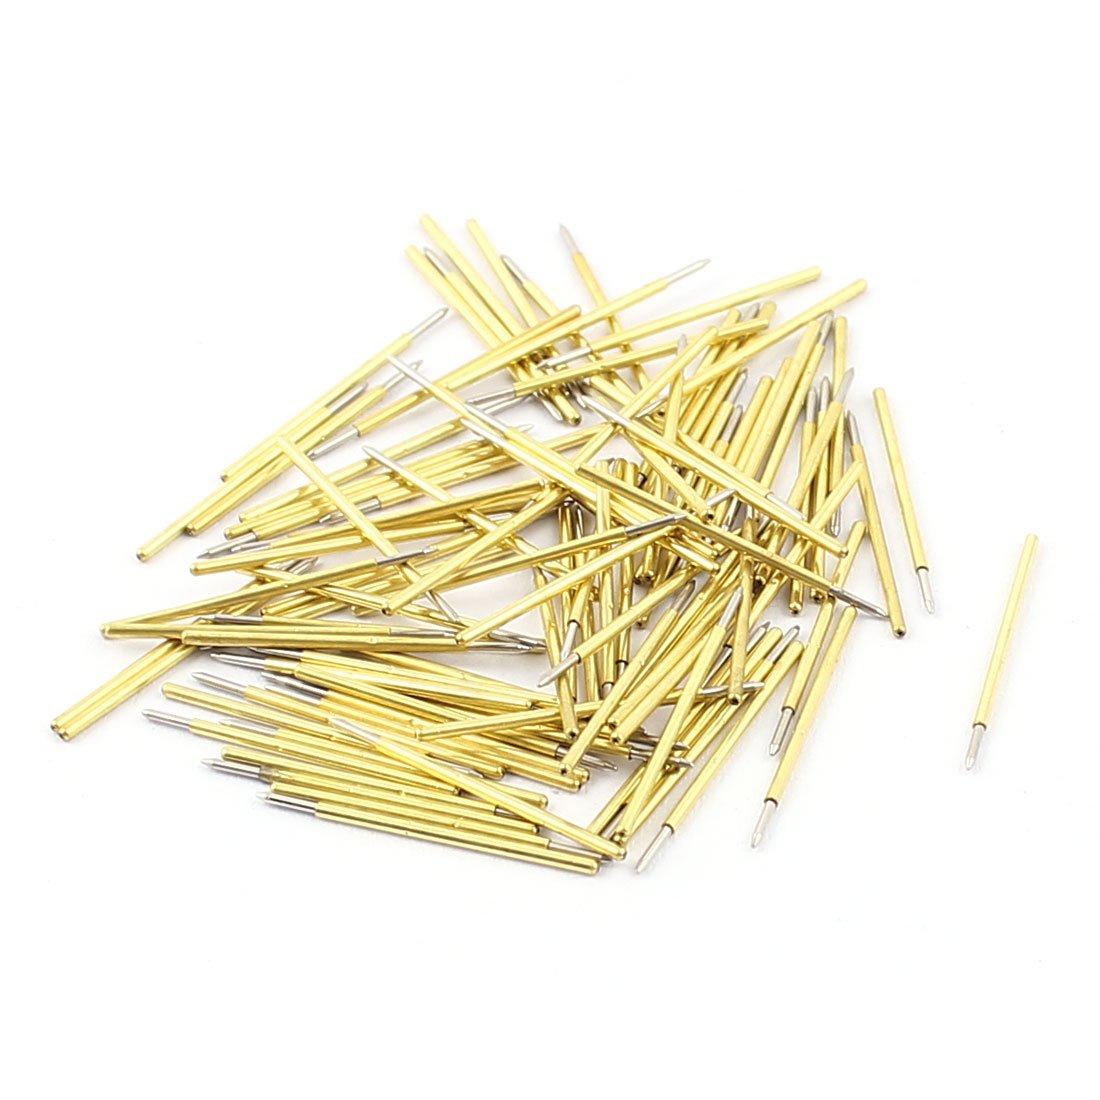
- Type: 10pcs P75-E2 Spring Test Probe, E type conical head. Great replacement probes to extend the life of your test station.
- Specification: Head Diameter 1.3mm, Tube Diameter 1.02mm, Shank Diameter 0.74mm, Length 16.5mm, Drill Size: 1.4mm, Minimum Test Distance 1.91mm, Full Stroke 2.50mm, Spring Pressure 100g, Current 3A, Resistance 50m Ohm
- Made of high quality material, heat treated beryllium copper plunger, gold plated phosphor bronze barrel and gold plated stainless steel wire spring, good contact and durable to use.
- Necessary parts for PCB conductive testing to access components on printed circuit assemblies, and test stability and durability.
- Widely used for testing through-hole components, gold fingers(edge connectors) PCB and welding pads.


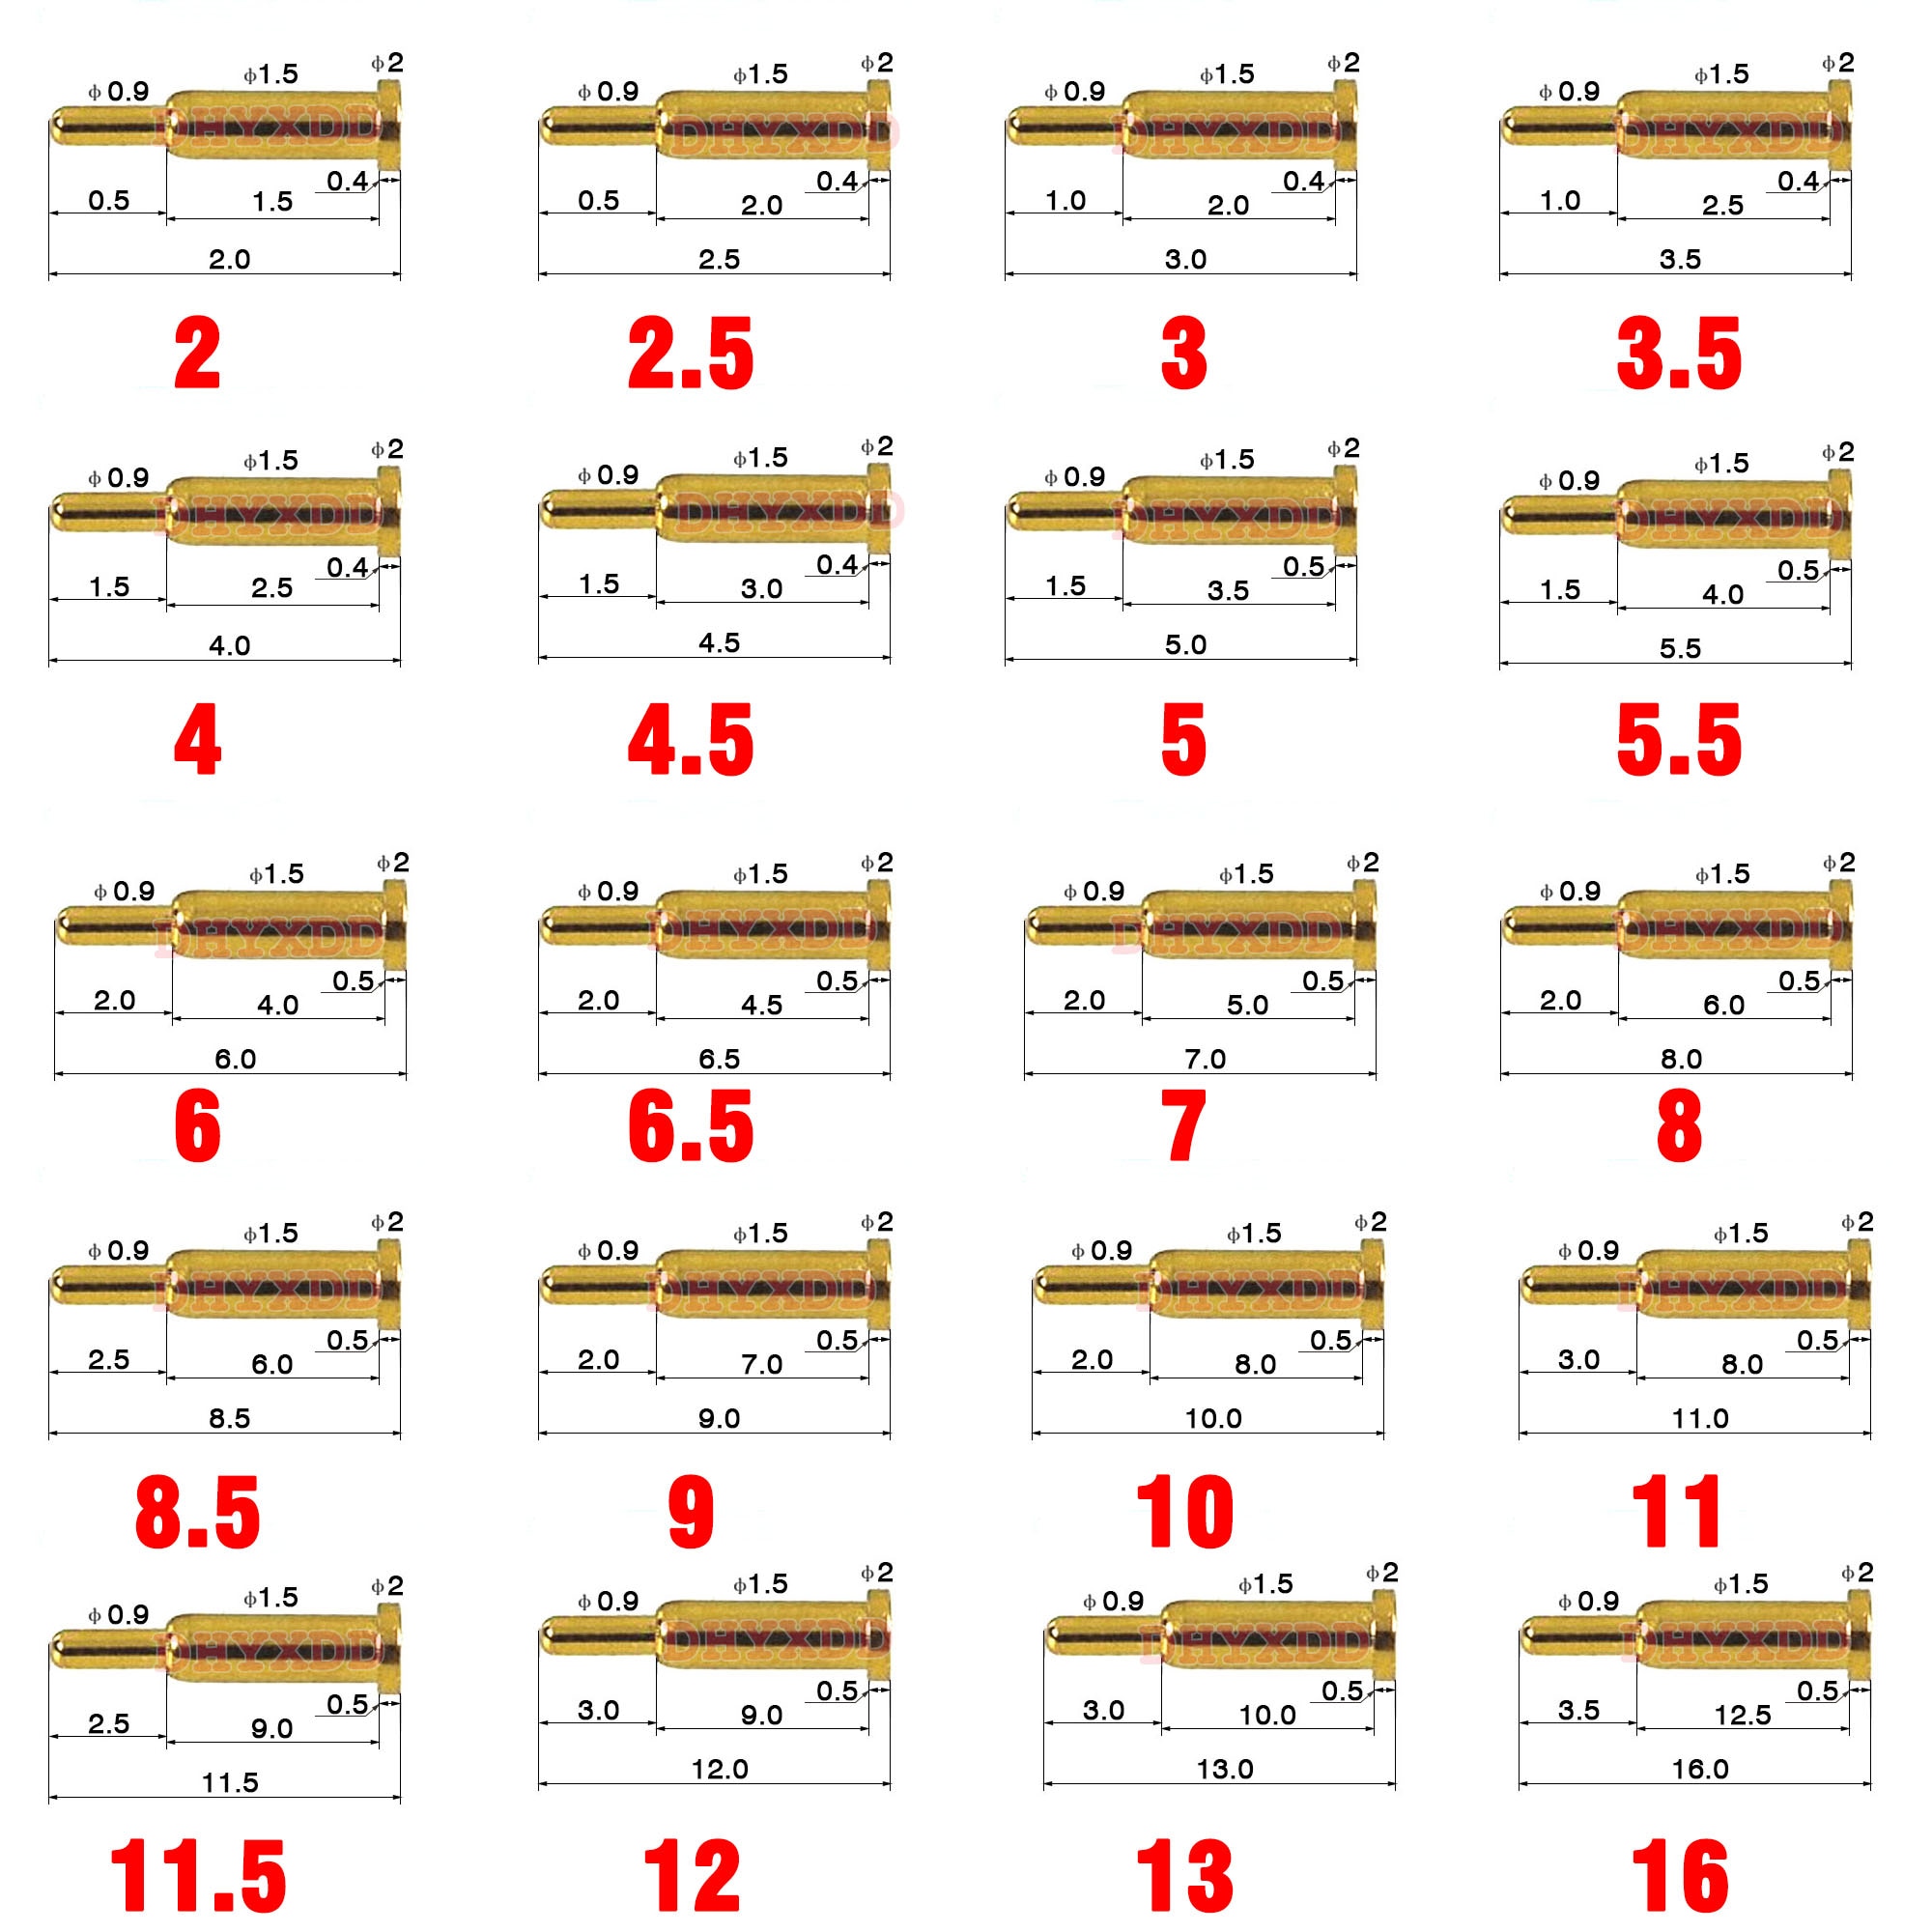 1pcs 3.0mm Pitch SMT DIP ...
 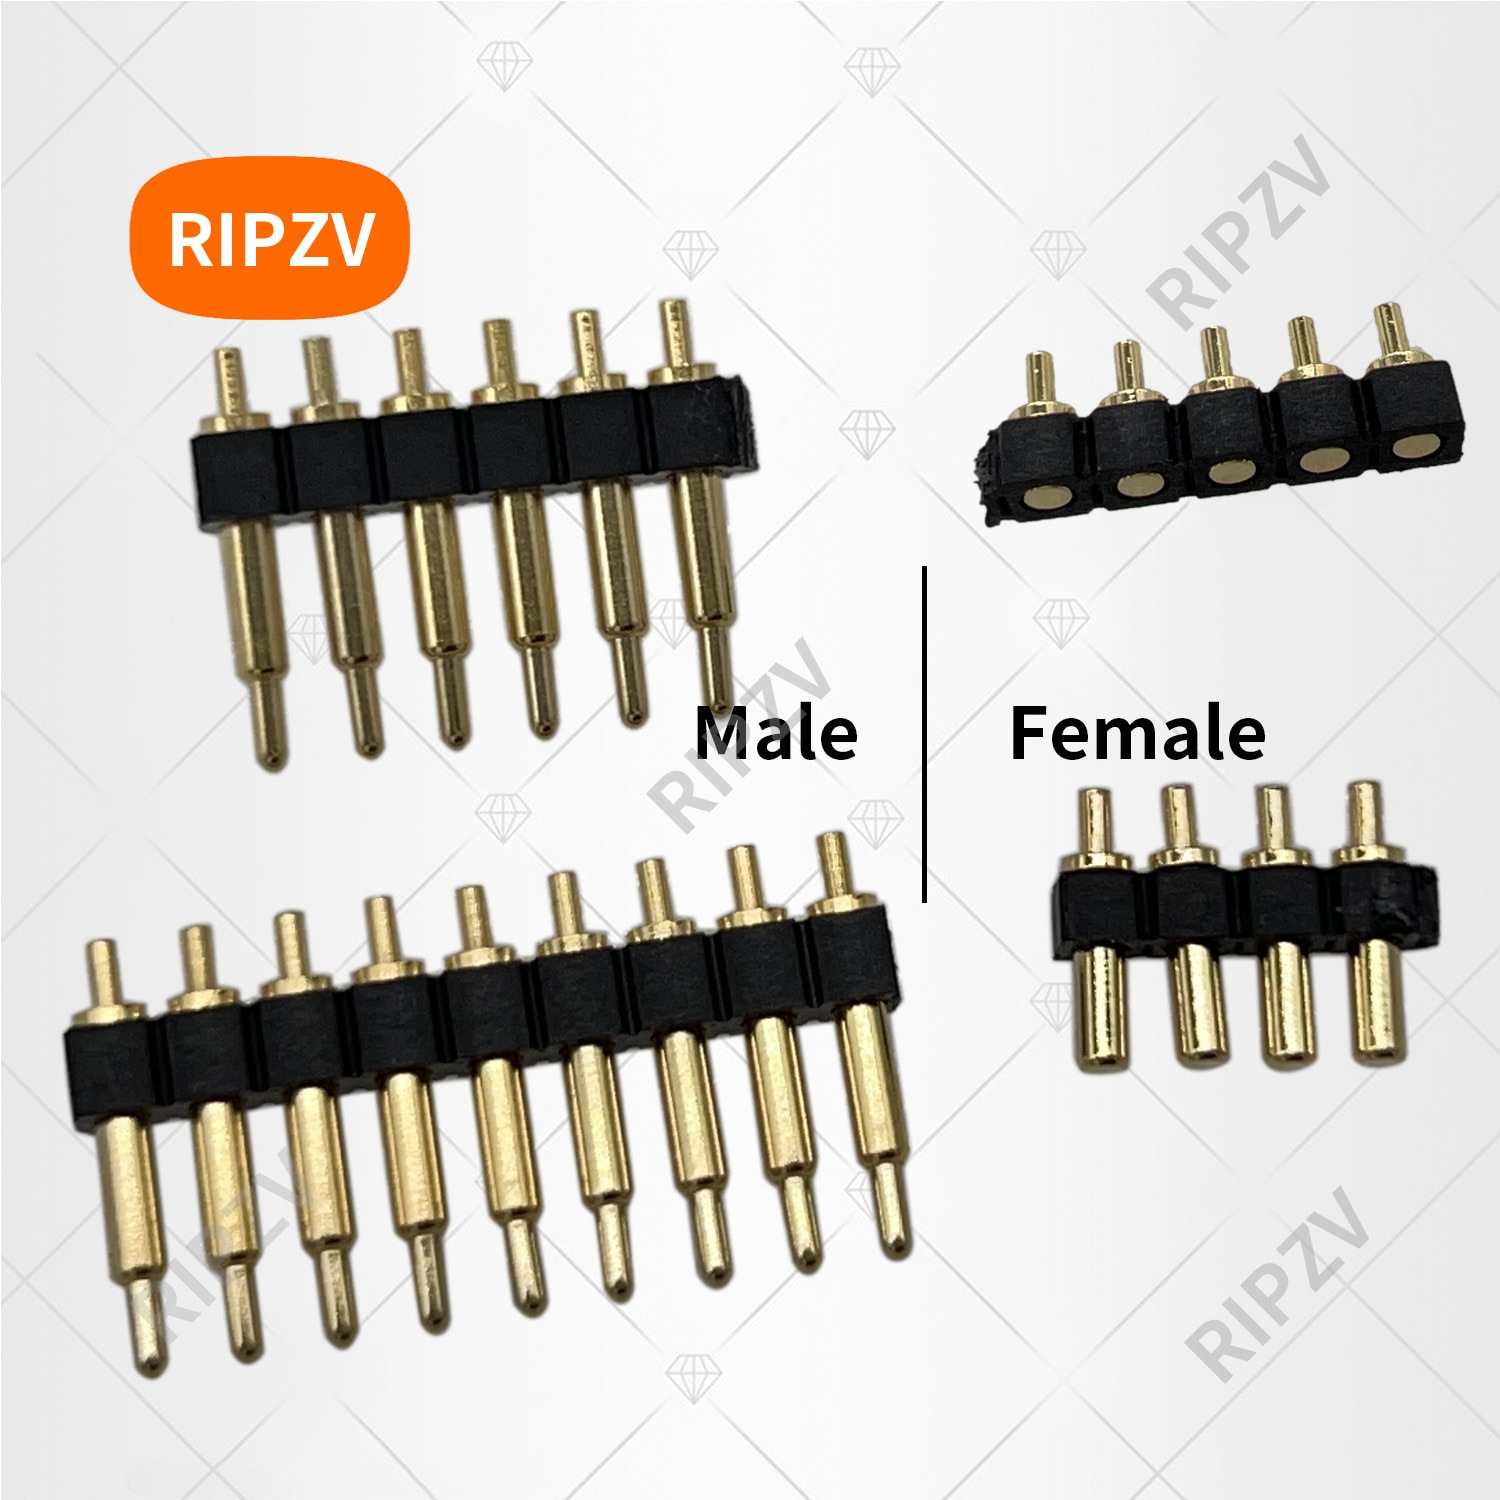 1pcs Male / Female Spring...
 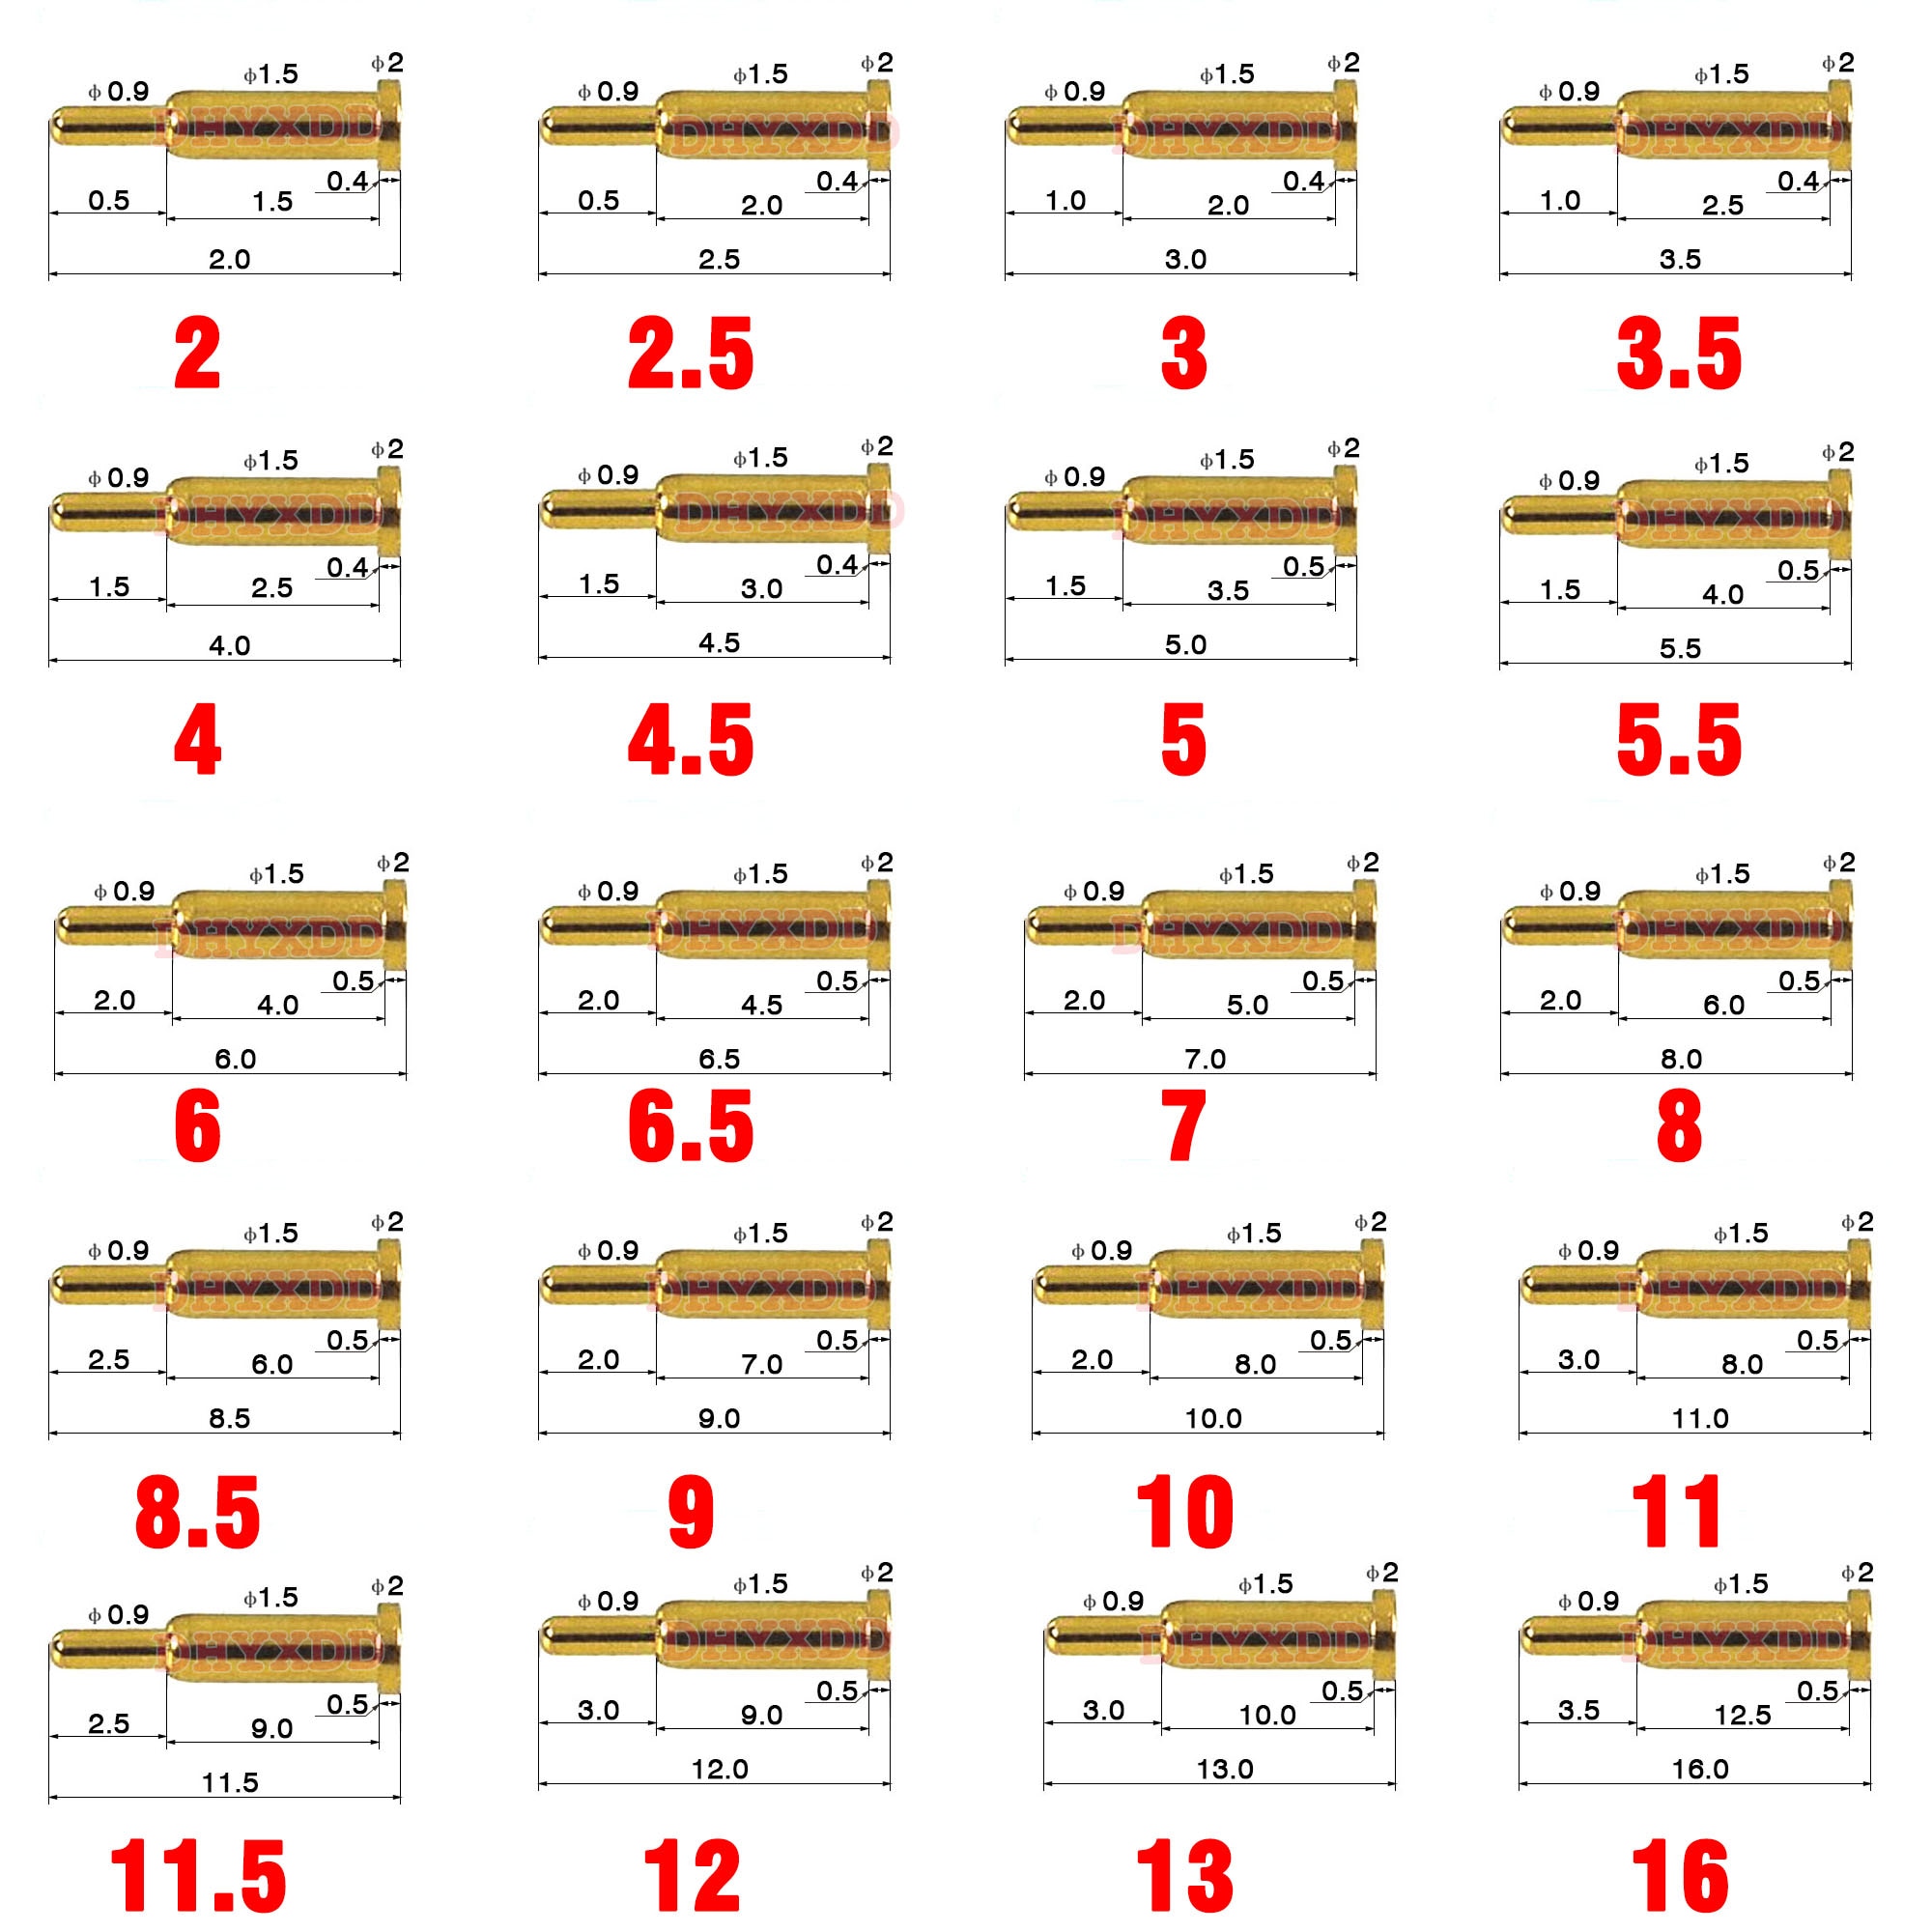 5Pcs Pogo Pin Connector P...




Mike A. –
I needed to program some new bootloaders into a dozen generic Arduino Nanos. You cannot do this through the USB connector, an external programmer has to be wired to the chip directly. I didn’t want to solder the 6 pin AVR ICSP header to every board, so I bought these pogo pins and made my own programming cable (using a Nano as the programmer). These things are small, I included a picture of them next to a 2032 battery.
I used an extra ESP-01 breakout board I had to hold the pins. At first I used pliers to insert the pins into the connector, but ended up crimping them and they wouldn’t spring back. So I put them into the connector, and pushed down onto a table to jam them in (1 pin at a time is easier than all at once). I put some kapton tape over the solder points for the breakout board connector’s pins because it took a lot of force and the connector’s pins were poking my thumb.
Using this cable I was able to program the dozen Nanos in less than two minutes with zero problems. And now I have extra pogo pins for the next time I have a project like this. I’m not going to bother to count and verify all of the 100 pins in the bag but there are plenty of them in there.
Rizwan –
The P75-E2 size pins are just small enough to fit into a standard breadboard. Use two of the mini breadboards that go for less than $1 each to build each jig. Remove all the clips from the bottom of one of the boards and stack it on top of the other. Using long nose pliers, insert pins where you need them.
My only gripe with these pins is that around 5% of them were defective and got stuck in the down position. So if you need more than 100, order an extra bag.
Rob –
Item as described
Mike A. –
they are solid and springy, they do the trick!